


Sometimes, Chloe Jo has a very hard time sitting during Sunday morning worship services. I think she is old enough not to have a bag of things with her (although I do let her take one baby). In order to help her pay attention to the lesson, I decided to make her a clipboard to help her learn to take notes (more on that later).
What you will need:

A clear clipboard
paper
Modge Podge
A foam brush
A scraper
Ribbon

The first thing I did was trace the outline of the clipboard on the wrong side of the main paper. I then traced around the screws. I cut the paper just a hair smaller than the outline and cut the screw holes out with my exacto knife.

I cut CJ's name out with my Cricut and glued it on the paper how I wanted it.

I then put a layer of modge podge on the back of the clipboard and *very carefully* laid the scrapbook paper on the layer of modge podge.
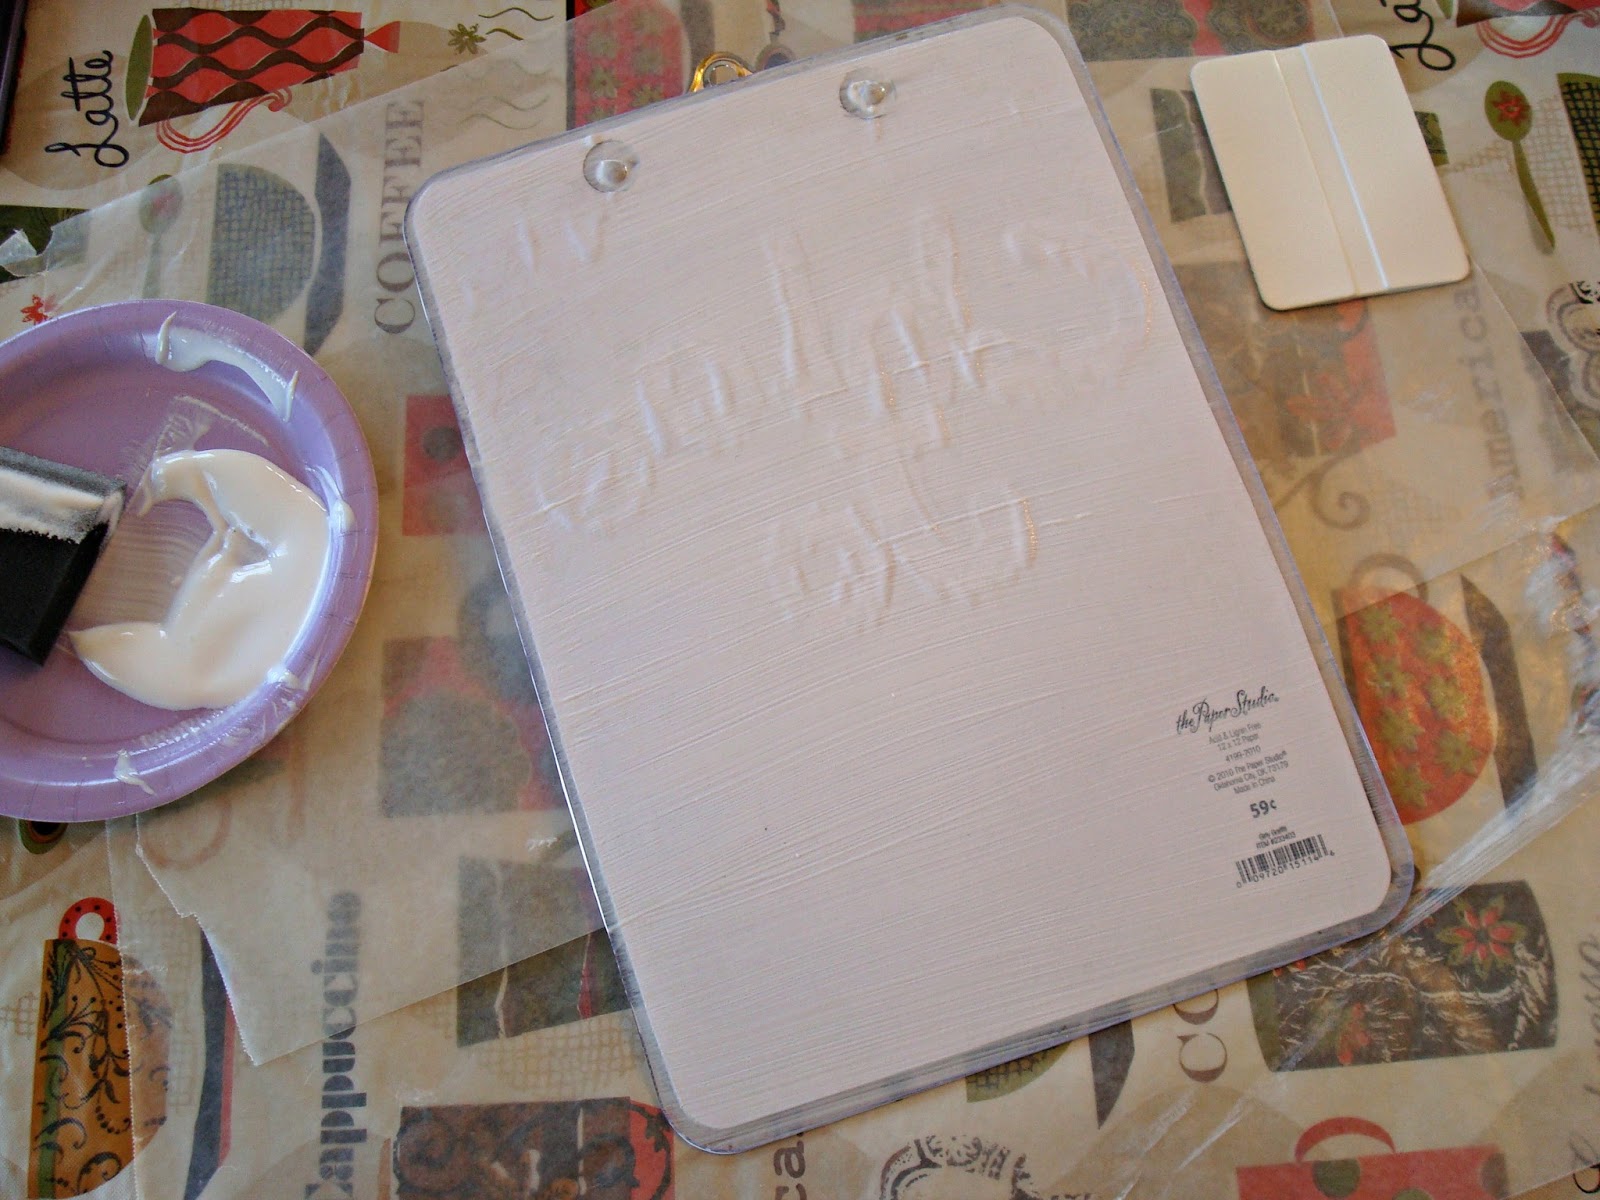
I used my scraper (the one I have came with my wall decals, but you can use anything with a straight, hard edge) to scrape out the bubbles. Again, be very careful when doing this because the paper will tear easily.

I let the modge podge dry and gave it 2 more coats just to make sure it wouldn't come up.

I cute a few lengths of ribbon and tied it do the clip.

I printed a page for notes from here.

I added a fun multi-colored pen to use.

While, this craft did turn out really good and I love the concept, Chloe Jo is just not ready for this. I only tried to get her to make tally marks in the blocks that said "Jesus" and "God" but she didn't get it. I realize that sometimes I push things that are not right for her yet so I have put this idea away for while. We will try again when she is a little older.

No comments:
Post a Comment