Birds of a Feather - The Rosenbergs


Instagram Dump July - December 2025
5 months ago


 Cheesy Vegetable Rotini
 I'm so happy with it! I think it turned out super fun and super cute!
 And then the weather got back up into the 80's yesterday so she wasn't able to wear it to Bible class last night.
 As usual, I'm linking up with Jamie for What I'm Loving Wednesday!
 I'm loving that I have a new nephew coming in February. I have been sewing up a storm for him lately. Here are a couple of onesies I have made for him.
 I'm loving that I've finished several Christmas gifts already. Here is a blanket I made for my little nephew, Jackson.
 I'm loving this fabric. I'm going to try to make a dress for Chloe Jo out of it. She is in need of fall/winter dresses so I have been trying to stock up her closet.
 Last, but not least, I'm loving this adorable little girl who has been so great this week letting me craft. Chloe Jo, you make my days so fun!
 Dishwasher Detergent
 The t-shirt is from Children's Place and I had bought it a long time ago for $0.99. I also had the jeans for a long time. They are from Wal-Mart and are Faded Glory brand size 24 months. I have been waiting for CJ to grow into them since she was 18 months old. Never happened. They are still too big in the waist and now they are too short. The fabric is just some from my stash.
 I'm thrilled with how this adorable outfit turned out! I chose to applique a vest on the shirt and put real buttons on it and added a ruffle out of the vest fabric to the jeans.
 I love it and the jeans fit her great now! CJ had just woken up so she wasn't exactly thrilled to be having her picture taken. I'm confident she likes the outfit, too, though. :)


 In the last few weeks she has started participating more in Bible Class and has started repeating things and learning them. She has also started being a little more friendly to strangers and people at church services.
 I'm hoping she continues to come out of her shyness and continues to love learning. Here are a couple of videos that I took this morning of her.
 It's that time again. Wednesday. Halfway through the week. Is it just me or are the weeks flying by? I can't believe it is September already and that we have been east coasters for over a year now. Anywho, link up {here} to tell us what you are loving this week!
 I'm loving crafting with Chloe Jo! We made a windsock this morning...and then hung it in her room where it won't be touched by wind. Ha!
 Since she can reach it, she'll have it down in no time!
 P.S. I love comments, too...
 As always, I'm loving my sweet, precious family. Russ and Chloe Jo make my heart feel like it's going to burst.
 The supplies you will need are:
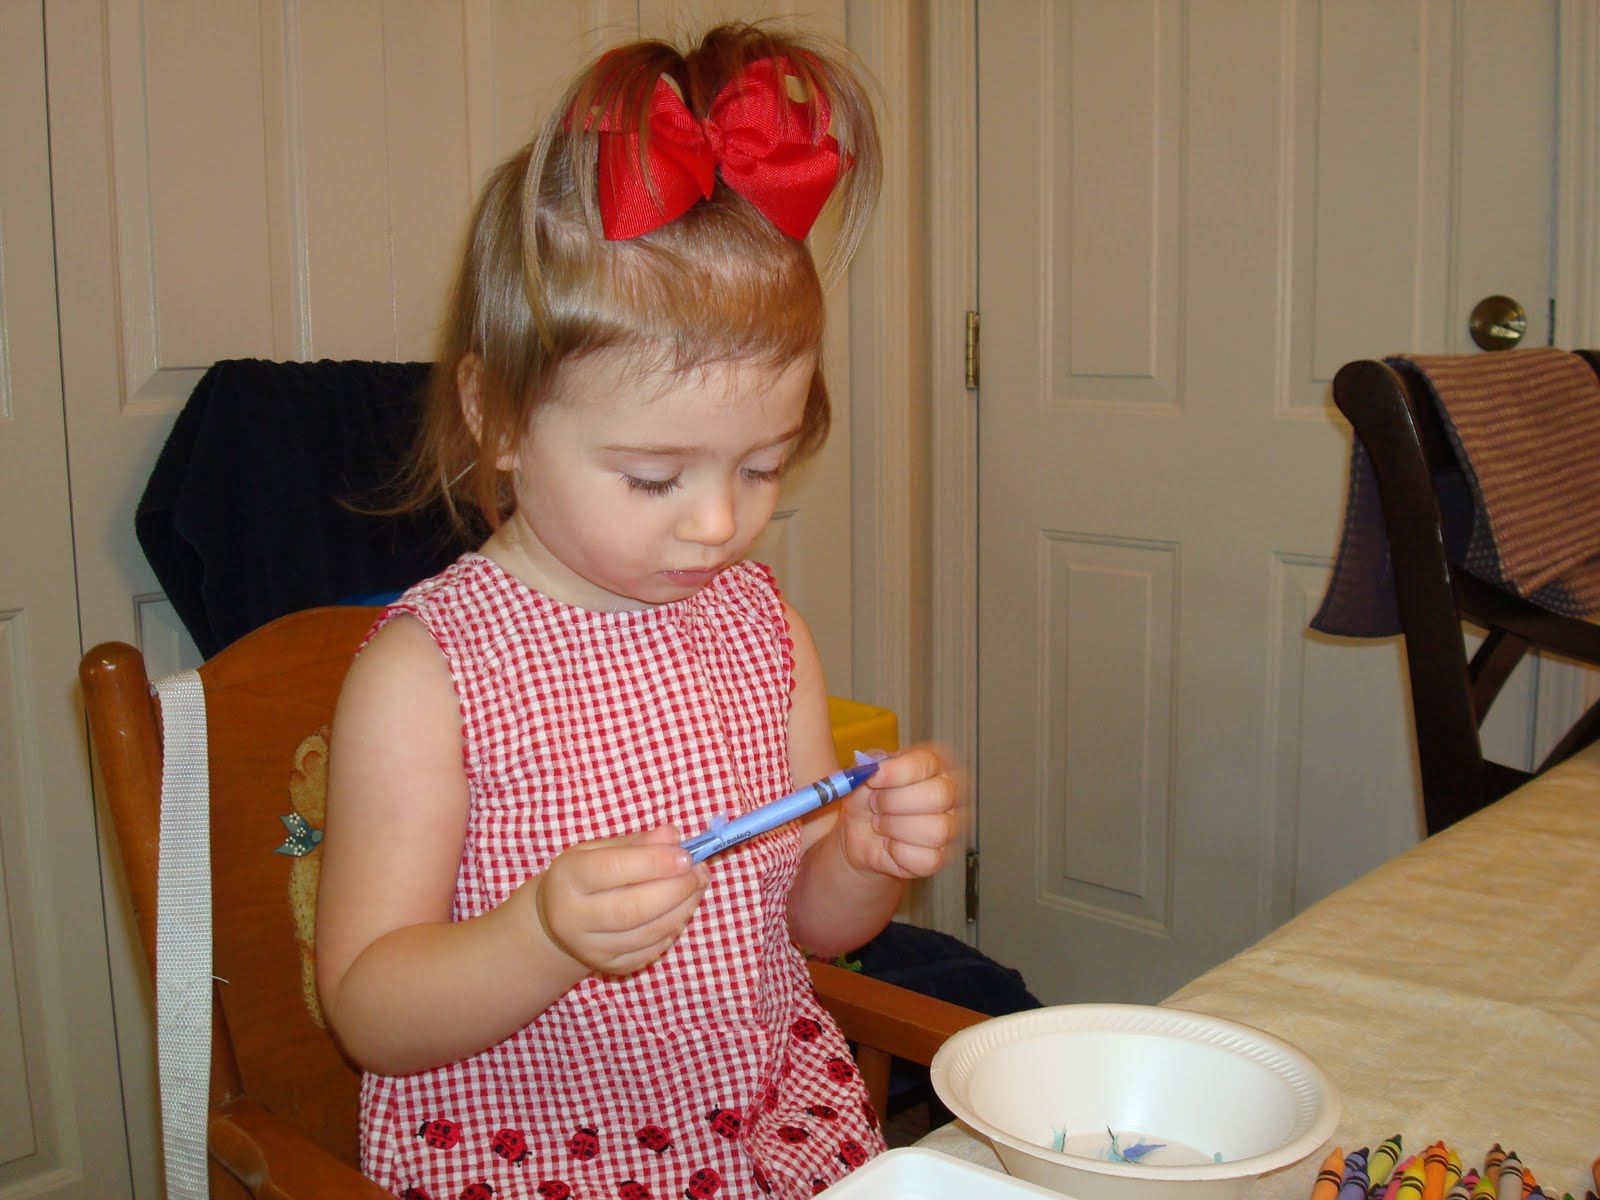 The first thing you need to do is unwrap the crayons. At first we were just peeling the paper off. That ended up not being very easy and CJ got bored with it quickly. I ended up slicing the paper with the knife on the cutting bored and it came off much easier and quicker. The downfall to this is that you have to be extremely cautious about this because the crayons are round and it is super easy to slip and cut yourself. If you push the knife into the crayons a little it works better. Some paper still didn't come off easy after that, but the majority slipped right off.
 After you are done taking the papers off, you need to break the crayons up in little pieces.
 Chloe Jo loved this step because it was easy for her to do. The puzzle in the picture is what she decided to do while I took the papers off of the crayons. She loves that puzzle.
 I tried to break each crayon into four pieces to make them small enough. If I had used a larger muffin tin (I used a mini-muffin tin) I would have left them in bigger pieces. It just depends on your tin.
 Drop a handful of crayon pieces into each muffin mold.
 Put it in 300 degree oven until they are completely melted. I left mine in for about 8 minutes.
 Let them cool completely and then pop them out. I did this like I would an ice mold.
 And Wah-la! You now have round multi-colored crayons to color with to your hearts content!
 The New York City skyline before September 11, 2001
 The New York City skyline after 10:28 a.m., September 11, 2001
 It isn't this particular one, but you get the picture. A few weeks ago, Chloe Jo and I went into this store. As soon as she spotted The Biebs, she pointed at him and yelled "Dada!"
 You will need:
 The first thing I did was pour the rubbing alcohol into the bowls. Then Chloe Jo helped me squeeze the food coloring in each bowl. You will need to stir this mixture up.
 Chloe Jo dropped noodles into each bowl until the liquid was full.
 You don't want to put too many noodles in because if they aren't covered by the liquid they will not dye correctly.
 Then we waited 20 minutes for the noodles to dye.
 I picked up the noodles with a fork and laid them on a towel to dry. You can also just dump them into a strainer (which would be easier...if only I had thought of that before I used the fork!). They needed more time than I had originally anticipated to dry.
 After they are dry, help your little one string them on the yarn to make a necklace!
 Chloe Jo loved this activity!
 And, of course, I loved doing this with her!
 You will need a wire wreath (these come in all different sizes and shapes!), fabric (I chose 4 different fabrics and used 3/4 yard of each, and a pair of scissors.
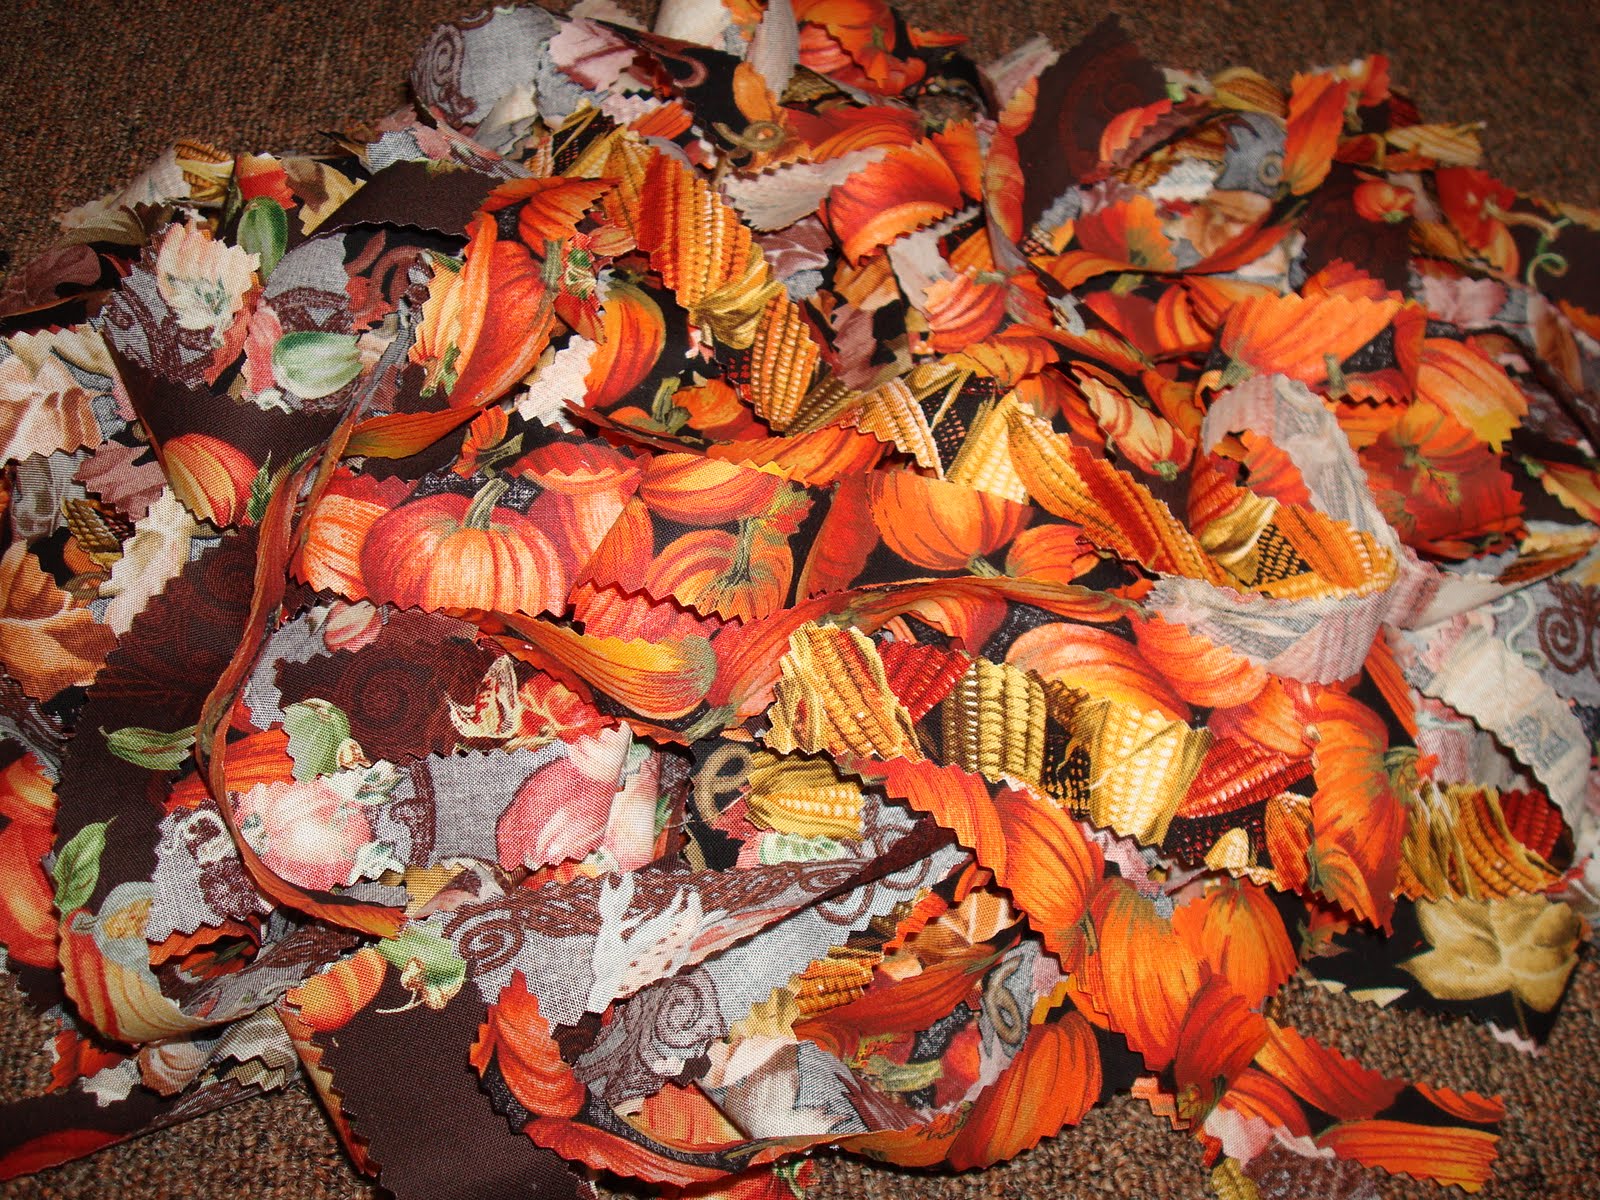 Once your strips are cut, double tie them on the wire wreath. And that's it! This took me a few hours in all because my wire wreath was large, but it was so simple and I love the way it turned out. I've seen people use tulle for these and they also look great! I love how mine looks. It gives my home a nice fall feeling!
